
 Image 1 of 1
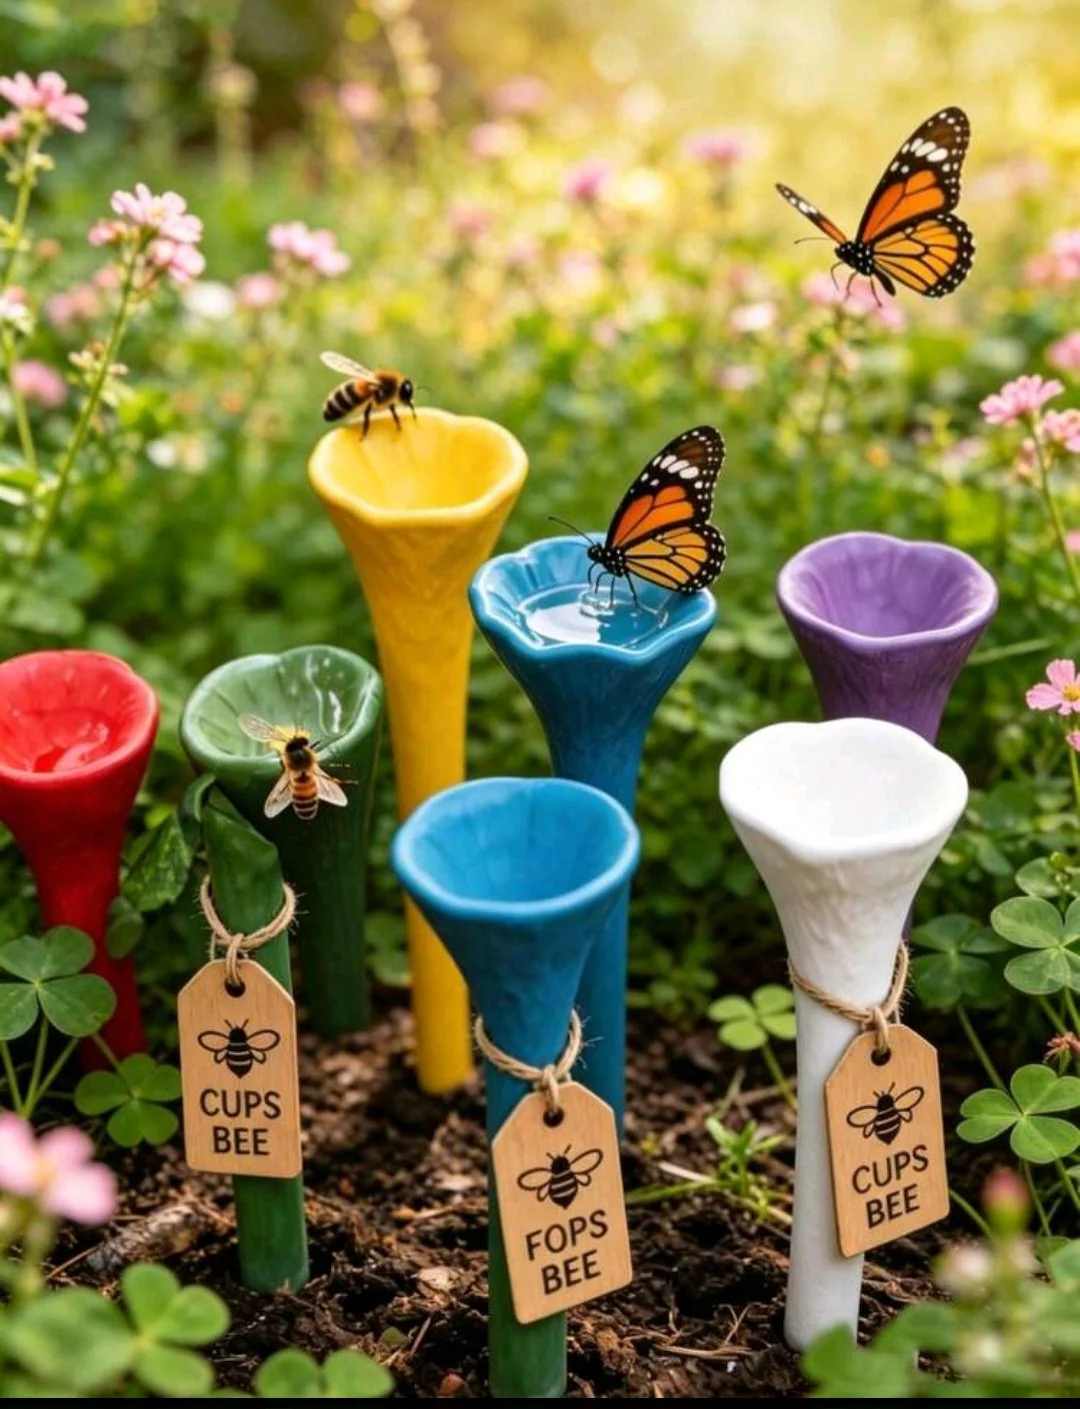
Bee cups
What they are
Bee cups are small, shallow receptacles used to provide water for bees and other beneficial pollinators. They’re typically filled with water and often contain landing material (pebbles, cork, wood chips, sponge, or marbles) so insects can drink without drowning.
Why they matter
Bees need easily accessible water to regulate hive temperature, dilute honey, and feed larvae. In urban and suburban areas where natural water sources are limited, bee cups help sustain local pollinator populations.
A reliable water source near gardens increases pollinator visitation, improving fruit set and flower health.
How to set up bee cups
Choose a container: shallow saucers, plant pot trays, lid tops, or purpose-built bee cups work well. Depth should be shallow (less than 1 inch where landing material can be placed).
Add landing material: place pebbles, marbles, cork pieces, wooden chips, or a sponge so bees can perch while drinking.
Fill with clean water: change frequently to prevent stagnation and mosquito breeding.
Positioning: place cups in partial shade and near flowering plants. Keep them at ground level or elevated slightly—consistency around 1–3 feet above ground works well depending on local bees.
Winter considerations: in cold climates, water sources can freeze. Provide alternatives seasonally if needed.
Maintenance
Refill daily in hot weather or every 2–3 days otherwise.
Clean and scrub weekly to prevent algae and disease buildup.
Replace landing materials if moldy or degraded.
Best practices
Offer multiple cups spaced across your yard to reduce competition and crowding.
Avoid chemical contamination: place cups away from pesticides, herbicides, and runoff.
Use fresh, clean water; adding sugar, salt, or additives is unnecessary and can harm bees.
If mosquitoes are a concern, ensure landing materials keep insects from submerging; change water frequently.
Materials and DIY ideas
Repurpose: jar lids, shallow plant saucers, yogurt containers (with drainage holes or added perches).
Upcycle: fill a shallow dish with marbles or pebbles, leaving small pockets of water.
Commercial: lookout for shallow pollinator waterers that include integrated perches.
Signs your bee cups are working
You’ll observe bees, syrphid flies, and other pollinators visiting consistently.
Increased pollination activity in nearby flowering plants and vegetables.
Troubleshooting
No visitors: try moving cups closer to flower beds or into partial sun; check water cleanliness.
Mosquitoes: increase frequency of water changes and ensure perches keep mosquito larvae from developing; consider adding a small fountain feature that circulates water for larger setups.
Summary Bee cups are a simple, low-cost way to support bees and pollinators by providing safe, accessible drinking water. Proper placement, clean water, landing material, and regular maintenance will maximize their benefit to your garden’s health.